How to Pack a Daypack for Hiking: The Complete Step-by-Step Guide
A properly packed daypack is faster to access, more comfortable to carry, and significantly safer. Here's the zone-by-zone system from the bottom up.
Key Takeaways
- What Size Daypack Do You Need?: Before packing strategy, a word on capacity — because the right size makes everything else easier.
- Zone 1: Bottom of the Pack: Pack your least-needed, bulkier items at the bottom: extra clothing layers, your emergency shelter, a first aid kit.
- Zone 2: Middle of the Pack: The middle zone is for your heaviest items — place these closest to your back (against the back panel), centered between your shoulder blades and hip belt.
- Zone 3: Top of the Pack: The top third is for frequently accessed items you want to reach without unpacking.
Most hikers pack their daypack the same way every time: throw everything in, tighten the straps, and head out. It works — the way a disorganized desk works. You can get things done, you just spend a lot of extra time and energy finding what you need.
A properly packed daypack is faster to access, more comfortable to carry, and significantly safer than a randomly stuffed one. The 10 minutes you invest in packing it right pays dividends every mile.
Here's the system, from the bottom up.
What Size Daypack Do You Need?
Before packing strategy, a word on capacity — because the right size makes everything else easier.
15–20L: Best for short day hikes (2–4 hours) in good conditions. Fits water, snacks, a light layer, and the ten essentials. Not enough for longer days or changing weather.
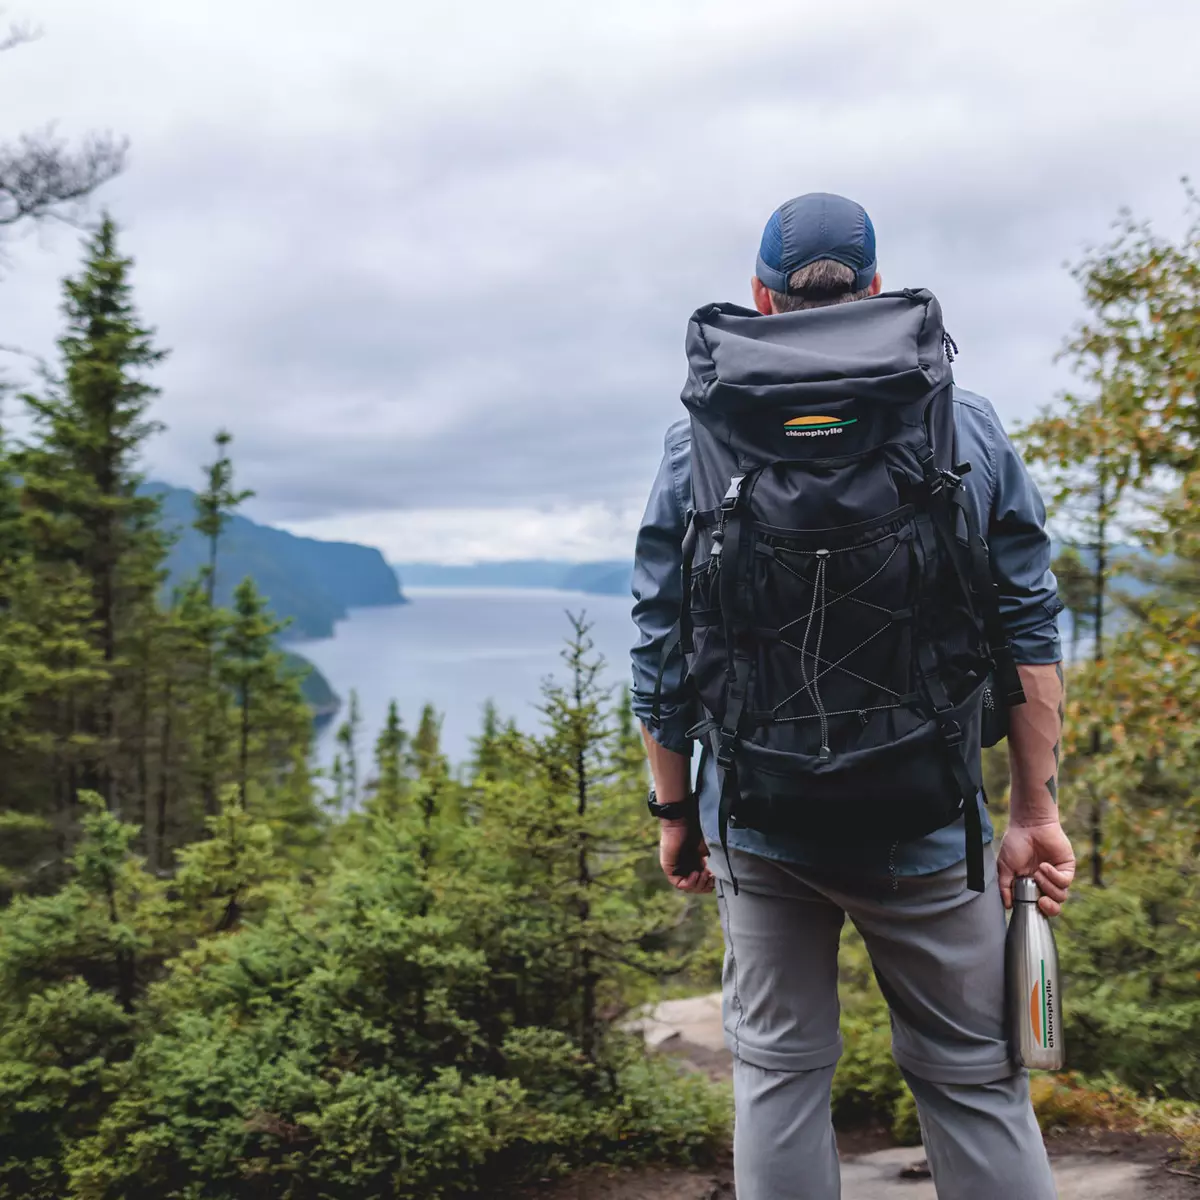
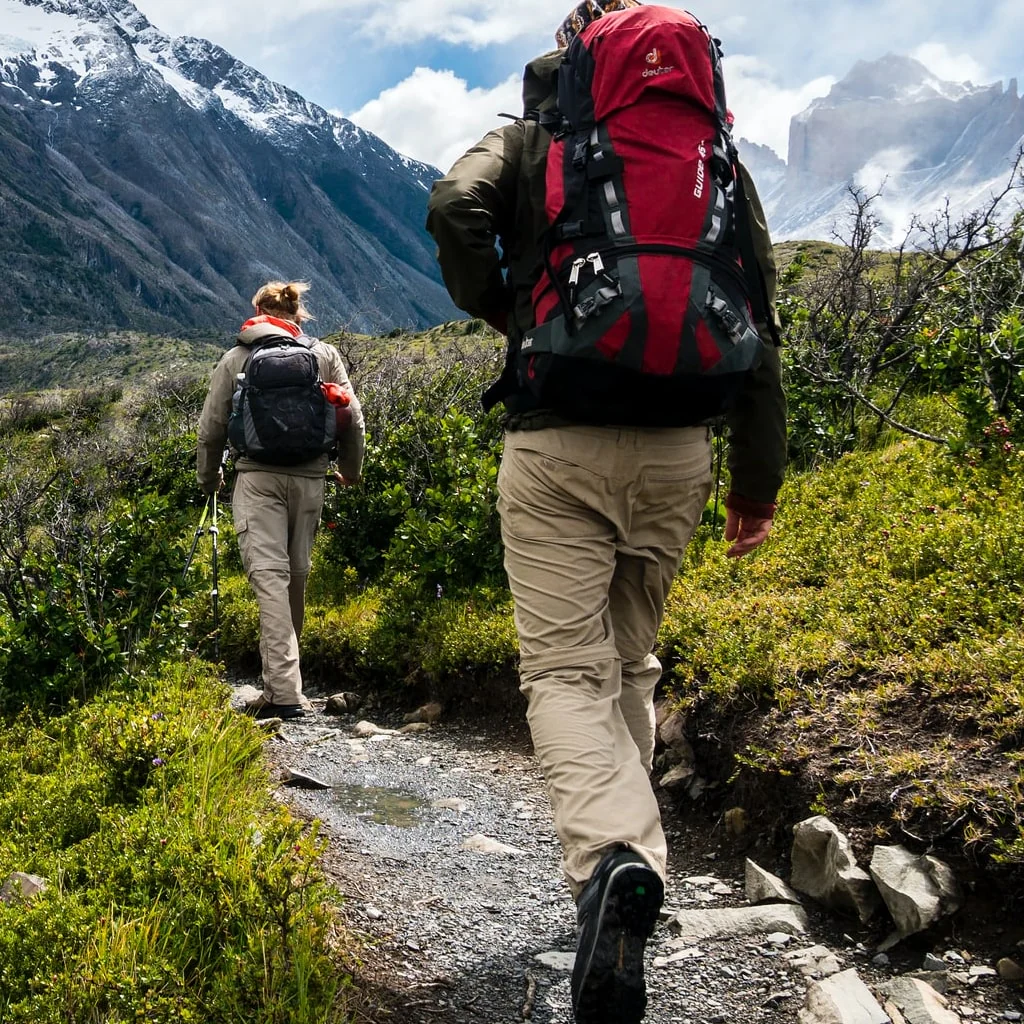
20–30L: The sweet spot for most day hikers. Comfortably carries everything you need for 4–8 hour hikes including a rain layer, full lunch, 2+ liters of water, and all safety essentials. The Osprey Talon 22 and REI Trail 25 are both excellent options in this range.
30–40L: For longer day hikes, technical terrain, or shoulder-season hikes where you're carrying heavier layers. Also useful as a light overnight pack for ultralight hikers with a minimal kit.
If your pack feels overstuffed on every hike, go up a size. If half the pack is empty, go down. Browse hiking backpacks to find your fit. A pack that's roughly 80% full sits and carries best.
Zone 1: Bottom of the Pack
Pack your least-needed, bulkier items at the bottom: extra clothing layers, your emergency shelter, a first aid kit. These items are accessed least frequently on the trail, so burying them is fine. They also provide a cushioned base.
If you're carrying a sleeping bag or packable puffy, it goes here — it compresses easily and fills the bottom without adding awkward weight.
Zone 2: Middle of the Pack
The middle zone is for your heaviest items — place these closest to your back (against the back panel), centered between your shoulder blades and hip belt.
This is the critical loading principle for carry comfort: heavy items pressed against your back and centered vertically. When weight sits far from your back or high above your shoulders, the pack pulls you backward and creates the "load dragging you down" feeling that makes hiking miserable.
Specific items here: - Hydration bladder or largest water bottle - Food for the day (densest items — bars, nuts, hard cheese) - Camera body if you're carrying one - Any heavy tools (bear spray, satellite communicator)
Zone 3: Top of the Pack
The top third is for frequently accessed items you want to reach without unpacking. On the trail, you'll want these 10–20 times a day:
- Rain jacket (closest to the top — fastest to grab when weather turns) - Snacks and energy bars - Map or phone - Sunscreen - Headlamp (particularly important near the end of the day) - Lip balm
The logic is simple: items that stay in your pack for the whole hike live at the bottom; items you access regularly live at the top. Don't bury your rain jacket under everything else and then have to unpack the whole bag when a thunderstorm rolls in.
Zone 4: Hipbelt and Shoulder Strap Pockets
Most quality daypacks include small hipbelt pockets and occasionally shoulder strap pockets. These are prime real estate for:
- Your phone - Energy gels or small snacks - ChapStick and sunscreen - Car keys - Small navigation tools
Items in hipbelt pockets are accessible without stopping or removing your pack. For snacks and anything you reach for frequently on the move, this is the best location.
What to Actually Pack: The Ten Essentials
The Ten Essentials framework is the standard for what belongs in a day hiking pack. Here's what each looks like in practice:
Navigation: Phone with AllTrails downloaded offline (always, no exceptions — cell service disappears within the first mile on most trails), paper map backup, compass for serious hiking.
Sun Protection: Sunscreen SPF 30+, sunglasses, sun hat.
Insulation: Rain jacket always regardless of forecast. Extra layer (fleece or lightweight puffy) for stops and weather changes. Warm hat and gloves in shoulder seasons.
Illumination: Headlamp with extra batteries — not a phone flashlight. A headlamp keeps both hands free.
First Aid: Bandages, athletic tape (Leukotape is the gold standard), blister treatment, pain reliever, antihistamine, antiseptic wipes, personal medications.
Fire: Lighter or waterproof matches. Fire starter tinder. Weighs almost nothing.
Repair Tools: Duct tape wrapped around a trekking pole (not a full roll), multi-tool or knife, safety pins.
Nutrition: More food than you think you need. 200–300 calories per hour of activity. Pack an extra 500 calories beyond your calculation.
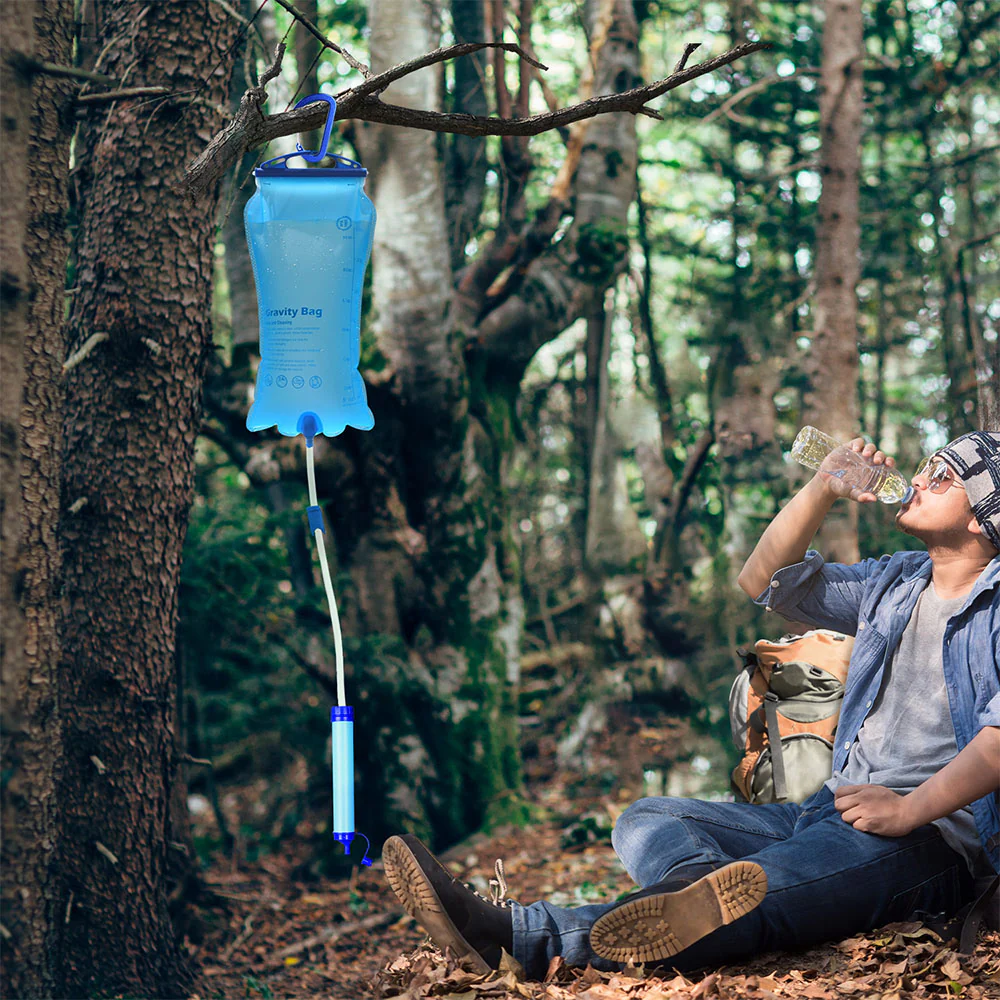
Hydration: Approximately 0.5 liters per hour of moderate activity. Always carry a backup water treatment method — Sawyer Squeeze, Aquamira drops, or purification tablets. Browse water filters for lightweight options.
Emergency Shelter: Emergency bivy (2 oz, ~$15) or space blanket. Gets used once in a thousand hikes — that one time, it matters enormously.
Common Day Hiking Packing Mistakes
Avoid these — they're the most frequent causes of uncomfortable or cut-short hikes:
- Forgetting a rain jacket because the forecast looks clear — mountain weather doesn't care about forecasts
- Underpacking water on hot days or strenuous terrain — dehydration is the most common cause of cut-short hikes
- Burying frequently used items at the bottom — if you have to unpack to get your rain jacket, something went wrong
- Forgetting a headlamp on a hike you expect to finish before dark — hikes run long, keep one in your pack every time
- Overpacking by bringing items 'just in case' that you've never actually needed
Products We Recommend
Written by
Sarah Chen
Gear Analyst & Writer · Trailwise Gear
Sports science graduate with a background in biomechanics. Brings data-driven analysis to gear testing — quantifying comfort, weight distribution, and material performance.
Ultramarathon Runner · Alpine Mountaineer
Meet the full team →

Find the Best Gear
Browse our expert-ranked gear categories.