How to Break In Hiking Boots the Right Way
New boots before a big hike is one of the most common mistakes. Here's the proven method to break them in without destroying your feet in the process.
Key Takeaways
- Why Boots Need Breaking In (And Why Some Don't): Not all boots require the same break-in time.
- The Three-Phase Break-In Method: The most effective way to break in hiking boots is progressive — starting with the most controlled environment and gradually increasing duration, distance, and terrain over two to three weeks.
- What to Wear During Break-In: The break-in process is only as accurate as the conditions you break in under.
- Hot Spots and Blisters — Catch Them Early: A hot spot is a small area of warmth, redness, or mild irritation — the early warning sign that a blister is forming.
New boots before a big hike is one of the most common mistakes hikers make — and one of the most painful. Everything feels fine at the trailhead. By mile 4, there's a hot spot on your heel. By mile 6, it's a full blister, and you've still got a long way back to the car.
The problem isn't the boots. It's the timing. Hiking boots are built to be durable and supportive, and those qualities come from stiff materials that need time to soften, flex, and mold to the shape of your foot. Skip that process and you're essentially asking your feet to break in the boots for you — on a hike, with nowhere to go.
The good news: breaking in boots is simple. It just requires patience and a progressive approach. Follow the method in this guide and your boots will be trail-ready before your next big hike — without destroying your feet in the process.
Why Boots Need Breaking In (And Why Some Don't)
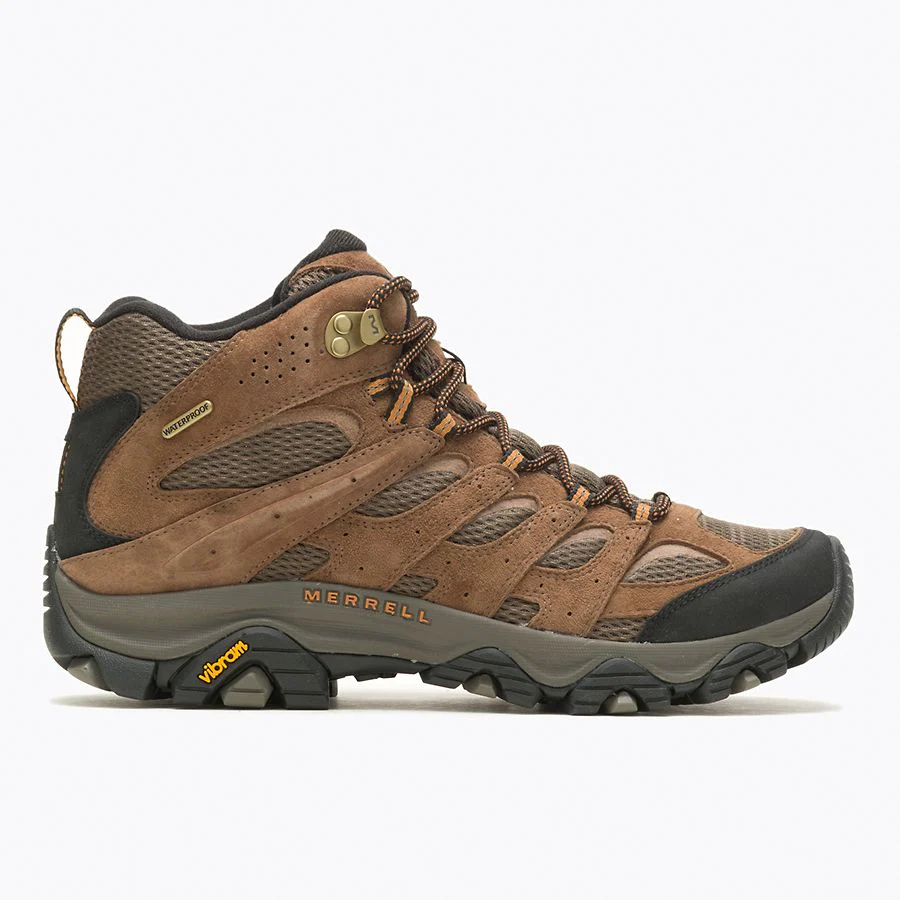
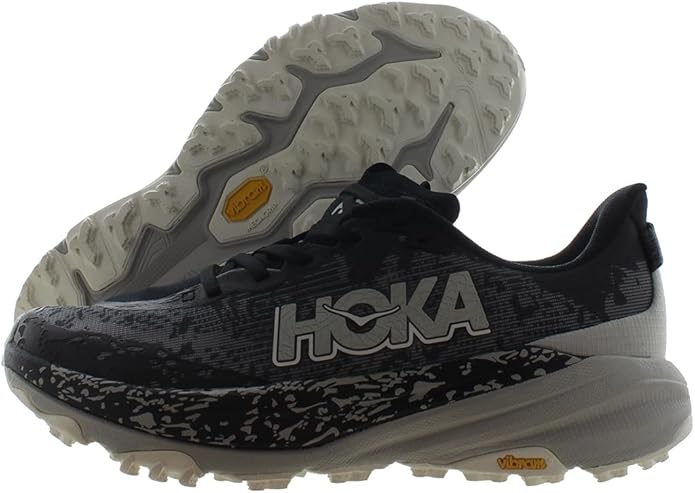
Not all boots require the same break-in time. Lightweight synthetic hiking shoes and trail runners often need minimal break-in — sometimes just a few short walks before they're comfortable for moderate day hikes. Mid-cut synthetic hiking boots — the most common beginner boot — typically need one to two weeks of progressive wear, covering perhaps 10-15 miles. Full-grain leather boots and heavy backpacking boots can take three to four weeks and 20-30 miles before they're truly trail-ready.
During break-in, two things happen simultaneously. The boot's materials soften and flex with repeated movement, becoming more pliable and less likely to create friction points. And your foot begins to leave its impression in the boot's insole and lining, creating a customized fit that improves support and reduces pressure points.
Even a boot that feels comfortable on a short walk can create hot spots on a 10-mile hike with a loaded pack. The golden rule: never wear brand-new boots on a significant hike. Give them at least a week of progressive use first, regardless of how comfortable they felt in the store.
The Three-Phase Break-In Method
The most effective way to break in hiking boots is progressive — starting with the most controlled environment and gradually increasing duration, distance, and terrain over two to three weeks.
Phase 1 — Wear Indoors (Days 1-3): Start at home. Put your boots on with your hiking socks and insoles, lace them snugly, and wear them around the house for one to two hours at a time. Walk on different surfaces — carpet, hardwood, tile, stairs. Pay close attention to any areas of discomfort, pressure, or friction. If anything feels significantly wrong in these first sessions — a pinching toe box, a heel that slips despite tight lacing — this is the time to return or exchange. Break-in softens materials. It doesn't fix the wrong shape.
Phase 2 — Short Walks and Errands (Days 4-10): Take them outside. Wear them on short walks around the neighborhood, to the grocery store, walking the dog. Start with 30-60 minute outings and gradually extend them. Introduce varied surfaces: pavement, grass, gravel, gentle hills.
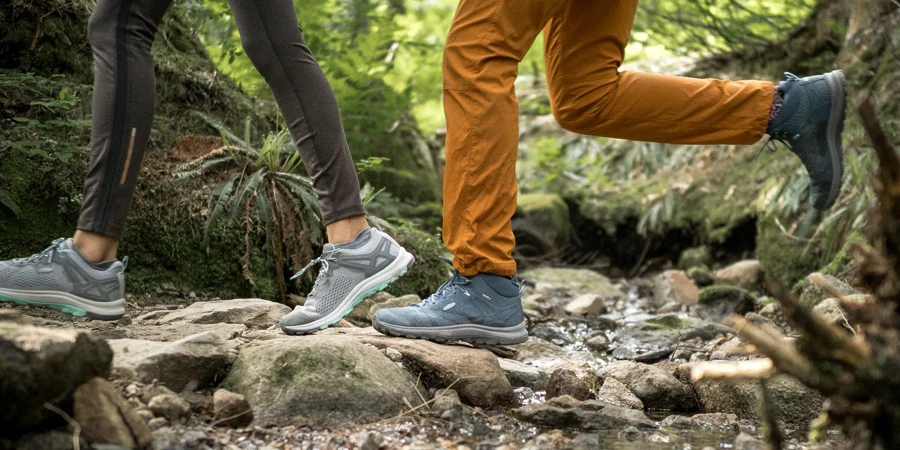
Phase 3 — Trail Hikes With Progressive Distance (Days 11-21): Now take the boots on actual trails, starting easy and building up. Begin with a 2-3 mile hike on relatively flat terrain. If that goes well, move to a 4-5 mile hike with some elevation. Then a longer hike with a loaded daypack. By the end of phase 3, most boots are genuinely trail-ready.
- Phase 1 (Days 1-3): Wear indoors 1-2 hours/day, note any pressure points
- Phase 2 (Days 4-10): Short walks outside, 30-60 min, varied surfaces
- Phase 3 (Days 11-21): Trail hikes starting at 2-3 miles, building to 7-10
- Always wear your actual hiking socks during all phases
What to Wear During Break-In
The break-in process is only as accurate as the conditions you break in under. Always wear the exact socks you plan to hike in — the same thickness, the same material, the same brand if possible. Sock thickness changes the internal volume of the boot, affecting where pressure points develop. A boot that feels perfect with thin casual socks may be too tight with a midweight merino hiking sock.
Merino wool or synthetic hiking socks are ideal. Cotton socks hold moisture and can create friction points that mislead you about how the boot will actually feel on trail.
For heel slip — one of the most common sources of blisters — try the heel-lock lacing technique: lace the boot normally up to the second-to-last eyelet, then loop each lace through the top eyelet to create a small loop on each side before crossing and tying. This locks the heel in place and prevents the up-and-down movement that causes heel blisters.
Hot Spots and Blisters — Catch Them Early
A hot spot is a small area of warmth, redness, or mild irritation — the early warning sign that a blister is forming. The moment you feel a hot spot, stop. Take your boot and sock off. If it's red but not blistered, you have a short window to intervene.
The basic protocol: clean and dry the area. Apply a blister pad, moleskin, or medical tape directly over the hot spot to reduce friction. For moleskin application: cut a piece larger than the hot spot and apply it smoothly with no wrinkles. For a formed blister, cut a donut-hole shape in the moleskin so the blister sits in the center, cushioned but not compressed.
A blister kit — moleskin or blister pads, medical tape, and a sterile needle for draining if necessary — belongs in your pack on every hike. If a blister is too painful to walk on, drain it carefully: sterilize a needle, pierce the edge (not the top), press gently to drain, and leave the skin intact as a protective cover. Never remove the skin — raw, unprotected tissue in a hiking boot is significantly more painful and vulnerable to infection.
Shortcuts That Don't Work (And One That Helps)
Soaking your boots in water to soften the leather is a common suggestion that mostly doesn't work and risks damaging your boots. Water can degrade adhesives, weaken structural components, and cause leather to crack when it dries. Freezing your boots doesn't meaningfully stretch modern boot materials and risks damaging the boot structure. Heating boots in the dryer risks melting adhesives and degrading waterproof membranes.
Leather conditioner — products like Nikwax Leather Conditioner or Sno-Seal — does genuinely help the break-in process for full-grain leather boots. Applied during phase 1 or 2, it helps the leather become more pliable with less wear. For synthetic boots, leather conditioner is unnecessary.
There's no substitute for wear time. The fastest way to break in boots is simply to wear them consistently — for errands, short walks, around the house. If you're not sure you have the right pair to start with, the guide on how to choose hiking boots covers fit, materials, and boot types in detail.
The Bottom Line
Breaking in hiking boots isn't complicated, but it does require time and intention. Wear them indoors first, then around town, then on progressive trail hikes. Always use your actual hiking socks. Address hot spots the moment you feel them. Resist any shortcut that promises to compress three weeks of break-in into a single afternoon — they don't work.
Give your boots the time they need, and they'll repay you with miles of comfortable, blister-free hiking. Ready for your next pair? Explore Trailwise Gear's hiking boot recommendations for trail-tested options at every price point.
Products We Recommend

Written by
Sarah Chen
Gear Analyst & Writer · Trailwise Gear
Sports science graduate with a background in biomechanics. Brings data-driven analysis to gear testing — quantifying comfort, weight distribution, and material performance.
Ultramarathon Runner · Alpine Mountaineer
Meet the full team →
Find the Best Gear
Browse our expert-ranked gear categories.