The Three-Layer System for Hikers: How to Dress for Any Condition
The three-layer system explained — base layer, insulation, and shell. How to mix and match for any temperature, from humid summer trails to cold alpine approaches.
Key Takeaways
- Why Layering Beats One Thick Jacket: A single heavy jacket solves exactly one problem: being cold while standing still.
- Layer 1 — The Base Layer (Your Sweat Manager): Your base layer is the most important layer in the system, and also the most overlooked.
- Layer 2 — The Mid Layer (Your Heat Trapper): Where the base layer manages moisture, the mid layer manages warmth.
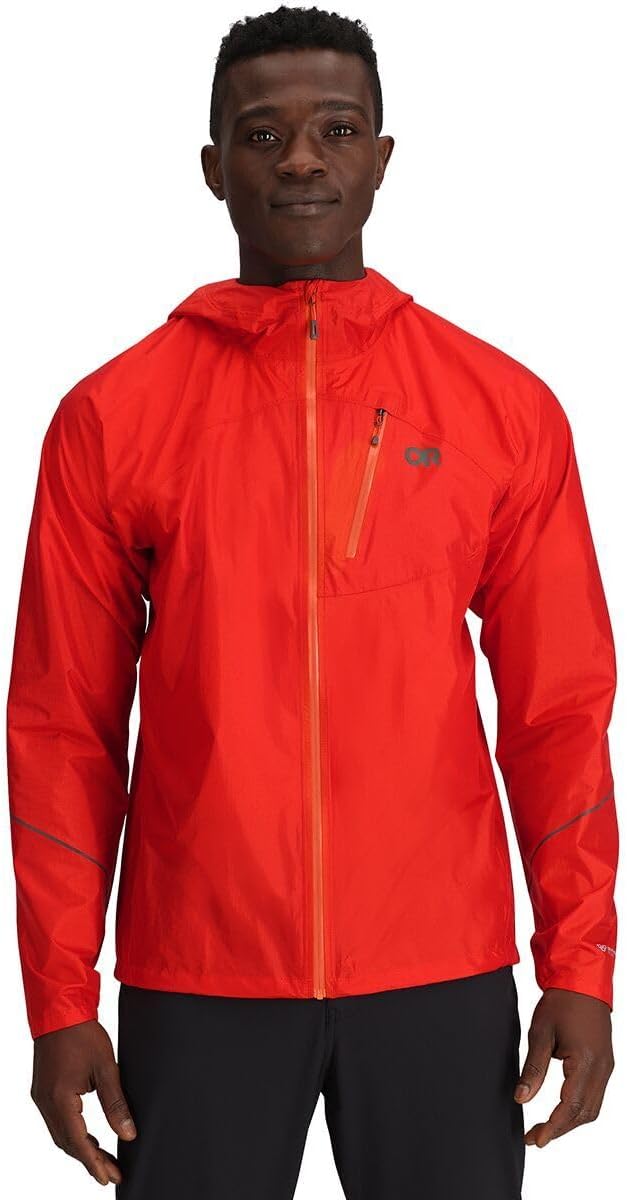
- Layer 3 — The Shell Layer (Your Weather Shield): The shell layer is your last line of defense against the elements.
Most new hikers make one of two clothing mistakes. They pile on a thick fleece and a heavy jacket, overheat within twenty minutes, and spend the rest of the hike damp and uncomfortable. Or they underestimate the cold, start fine at the trailhead, and hit the exposed ridgeline an hour later with nothing but a cotton hoodie.
The fix for both problems isn't buying more gear — it's understanding how the three-layer system works. This framework has been used by outdoor enthusiasts, mountaineers, and professional guides for decades because it solves a genuinely hard problem: your body generates wildly different amounts of heat depending on exertion level, and weather conditions can change dramatically over the course of a single hike.
Three layers, each with a specific job, working together as a system. Once you understand what each one does and when to use it, dressing for the trail becomes straightforward — regardless of the season.
Why Layering Beats One Thick Jacket
A single heavy jacket solves exactly one problem: being cold while standing still. The moment you start hiking, your body generates significant heat. If your clothing can't move moisture and regulate temperature dynamically, you end up either overheated and sweaty or cold and clammy when you stop.
The three-layer system addresses this by giving each layer a specific role: move sweat away from your skin, trap the heat your body generates, and block wind and rain from the outside. Each layer works best when the others are doing their job.
One of the best pieces of advice for any hiker: start cold. At the trailhead, before you begin moving, you should feel slightly cool. Within ten to fifteen minutes of hiking, your body temperature will rise and you'll feel comfortable. If you start warm, you'll be overheating and shedding layers within a mile.
Layer 1 — The Base Layer (Your Sweat Manager)
Your base layer is the most important layer in the system, and also the most overlooked. Its primary job is moisture management — moving sweat away from your skin and out toward the surface of the fabric, where it can evaporate. When sweat sits against your skin, it chills you as it evaporates and creates a clammy layer that degrades the performance of every layer above it.
Merino wool excels in odor resistance — it can be worn for multiple days on longer trips without developing the kind of smell that synthetic fabrics acquire quickly. It also insulates when wet. The trade-offs: more expensive, less durable, and dries more slowly than synthetic.
Synthetic base layers wick moisture faster, dry more quickly, are more durable, and cost less. The main downside is odor — synthetics retain body odor much more readily than merino. Choose merino for multi-day trips and cold-weather hiking. Choose synthetic for high-output day hikes and warm weather.
Cotton is not a base layer. It absorbs moisture and holds it against your skin. A wet cotton shirt in cool conditions can drop your body temperature rapidly and is a genuine hypothermia risk. Leave all cotton at home on any hike where temperature changes, rain, or sustained exertion are possible.
- Avoid cotton — absorbs sweat, stays wet, loses insulation
- Merino wool — odor-resistant, insulates when damp, slower to dry
- Synthetic — wicks fast, dries fast, more affordable, retains odor
- Lightweight for warm/high output, midweight for cool temps, heavyweight for cold camp
Layer 2 — The Mid Layer (Your Heat Trapper)
Where the base layer manages moisture, the mid layer manages warmth. Its job is to trap the heat your body generates and hold it close — while still allowing moisture from your base layer to continue moving outward.
Fleece is the most versatile mid layer material for hiking. It breathes well, dries quickly, and continues to insulate even when damp. Down insulation offers the best warmth-to-weight ratio of any mid layer — a high-quality down jacket is extraordinarily light and compressible, ideal to carry for summit stops or cold breaks. The critical limitation: natural down loses almost all insulating value when wet. Synthetic down (PrimaLoft, Thinsulate) maintains warmth even damp, making it the better choice for wet climates.
The key adjustment on the trail: take off your mid layer before you get warm, not after. Removing it once you're already sweating means moisture has already saturated your base layer. Vent early — unzip before you heat up, and add the mid layer back during rest stops before you cool down.
Layer 3 — The Shell Layer (Your Weather Shield)
The shell layer is your last line of defense against the elements. It doesn't need to keep you warm on its own — that's the mid layer's job. Its job is to block wind and keep rain and snow from soaking through to the layers beneath.
Hardshell jackets are fully waterproof and windproof, using a membrane like Gore-Tex that blocks liquid water while allowing some moisture vapor to escape. A hardshell is what you reach for in serious rain or any conditions where staying dry is a safety concern.
Softshell jackets are water-resistant (not waterproof) and highly breathable — excellent for light rain, wind, and cool dry conditions, but they'll eventually saturate in sustained rain.
For most day hikers, a packable rain jacket is a perfectly functional shell layer. For beginner-friendly options at every price point, the guide on best rain gear for beginners covers everything from budget 2.5-layer jackets to serious 3-layer shells.
Real-World Layering Scenarios
On a warm summer day, you'll likely hike in just your base layer — your shell lives in the top of your pack in case of afternoon thunderstorms. Your mid layer may not come out at all unless you stop at a cold summit.
In shoulder-season conditions — mornings in the 40s, afternoons warming to the 60s with possible showers — all three layers earn their place. Start in your base layer and shell for wind protection. Once you warm up on the climb, stash the shell. At the summit or during lunch, add your mid layer before you cool down. If rain moves in on the descent, the shell goes back on. Your day hike packing list should account for this full kit on any hike where weather is variable.
In cold weather below freezing or on exposed alpine routes, you'll want heavier versions of all three layers working together. The system stays the same — the weights shift.
The Bottom Line
The three-layer system isn't complicated once you understand the logic: move moisture, trap heat, block weather. Each layer does one job, and together they handle conditions that no single garment could manage alone.
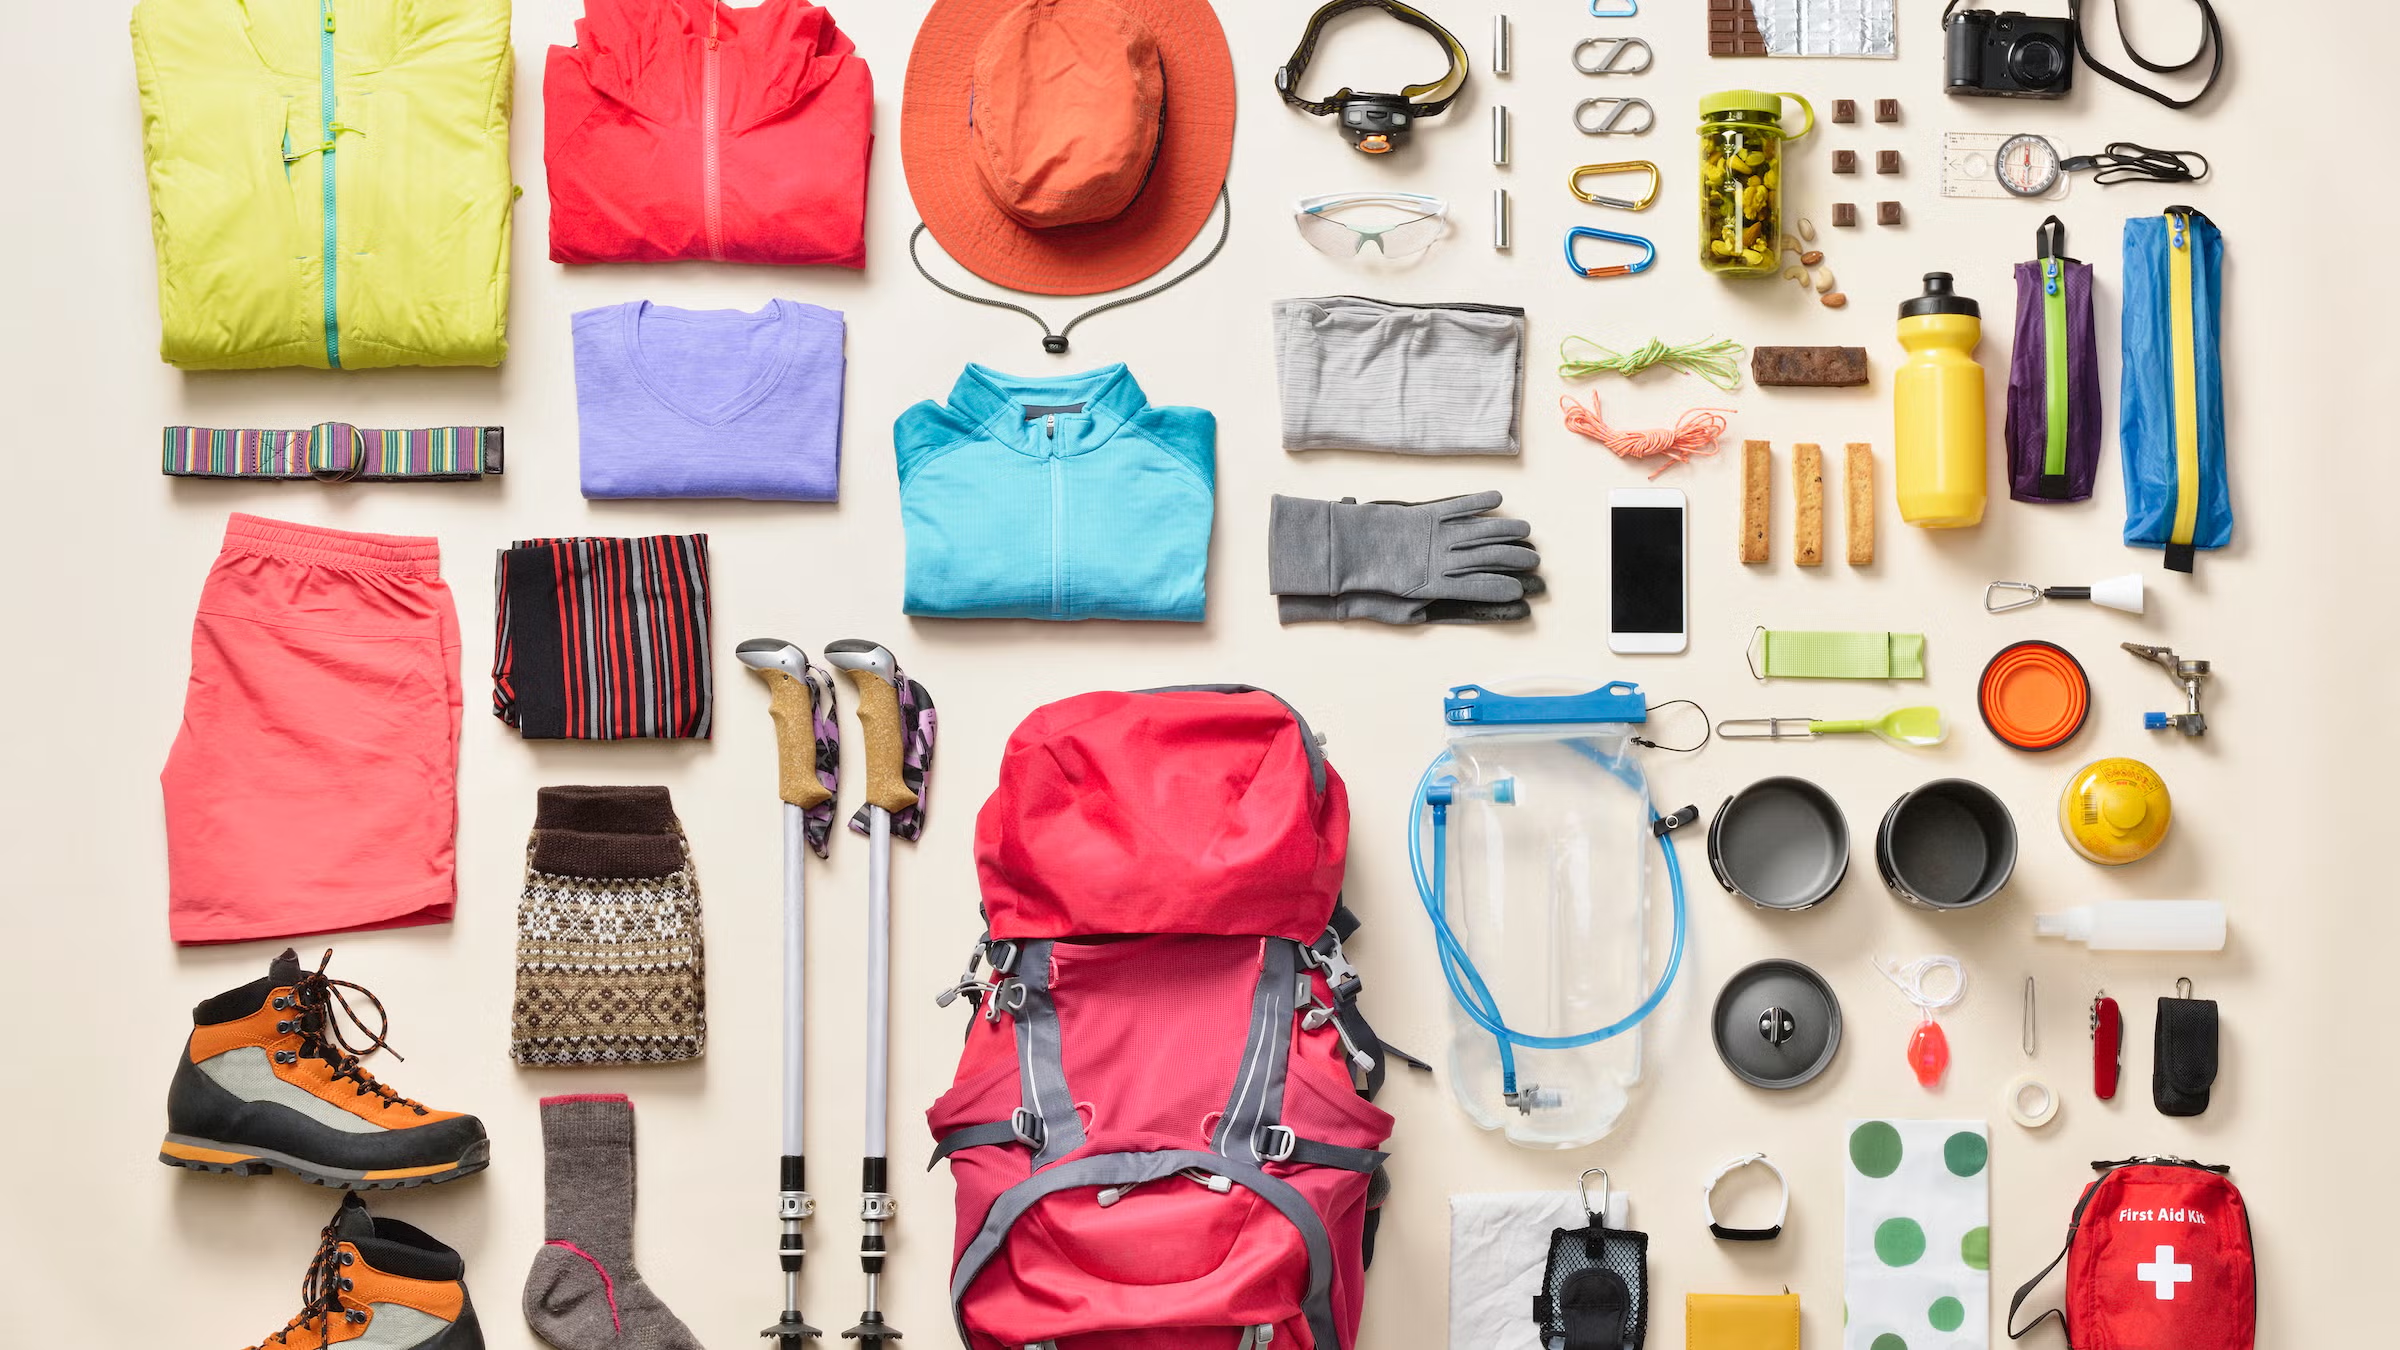
Build your kit one layer at a time if budget is a constraint. A good base layer is the most important starting point. Add a mid layer that suits your typical conditions. Carry a shell on every hike.
Ready to build your kit? Explore Trailwise Gear's hiking clothing recommendations — and pair them with the right hiking boots to complete your trail setup from head to toe.
Products We Recommend
Written by
Sarah Chen
Gear Analyst & Writer · Trailwise Gear
Sports science graduate with a background in biomechanics. Brings data-driven analysis to gear testing — quantifying comfort, weight distribution, and material performance.
Ultramarathon Runner · Alpine Mountaineer
Meet the full team →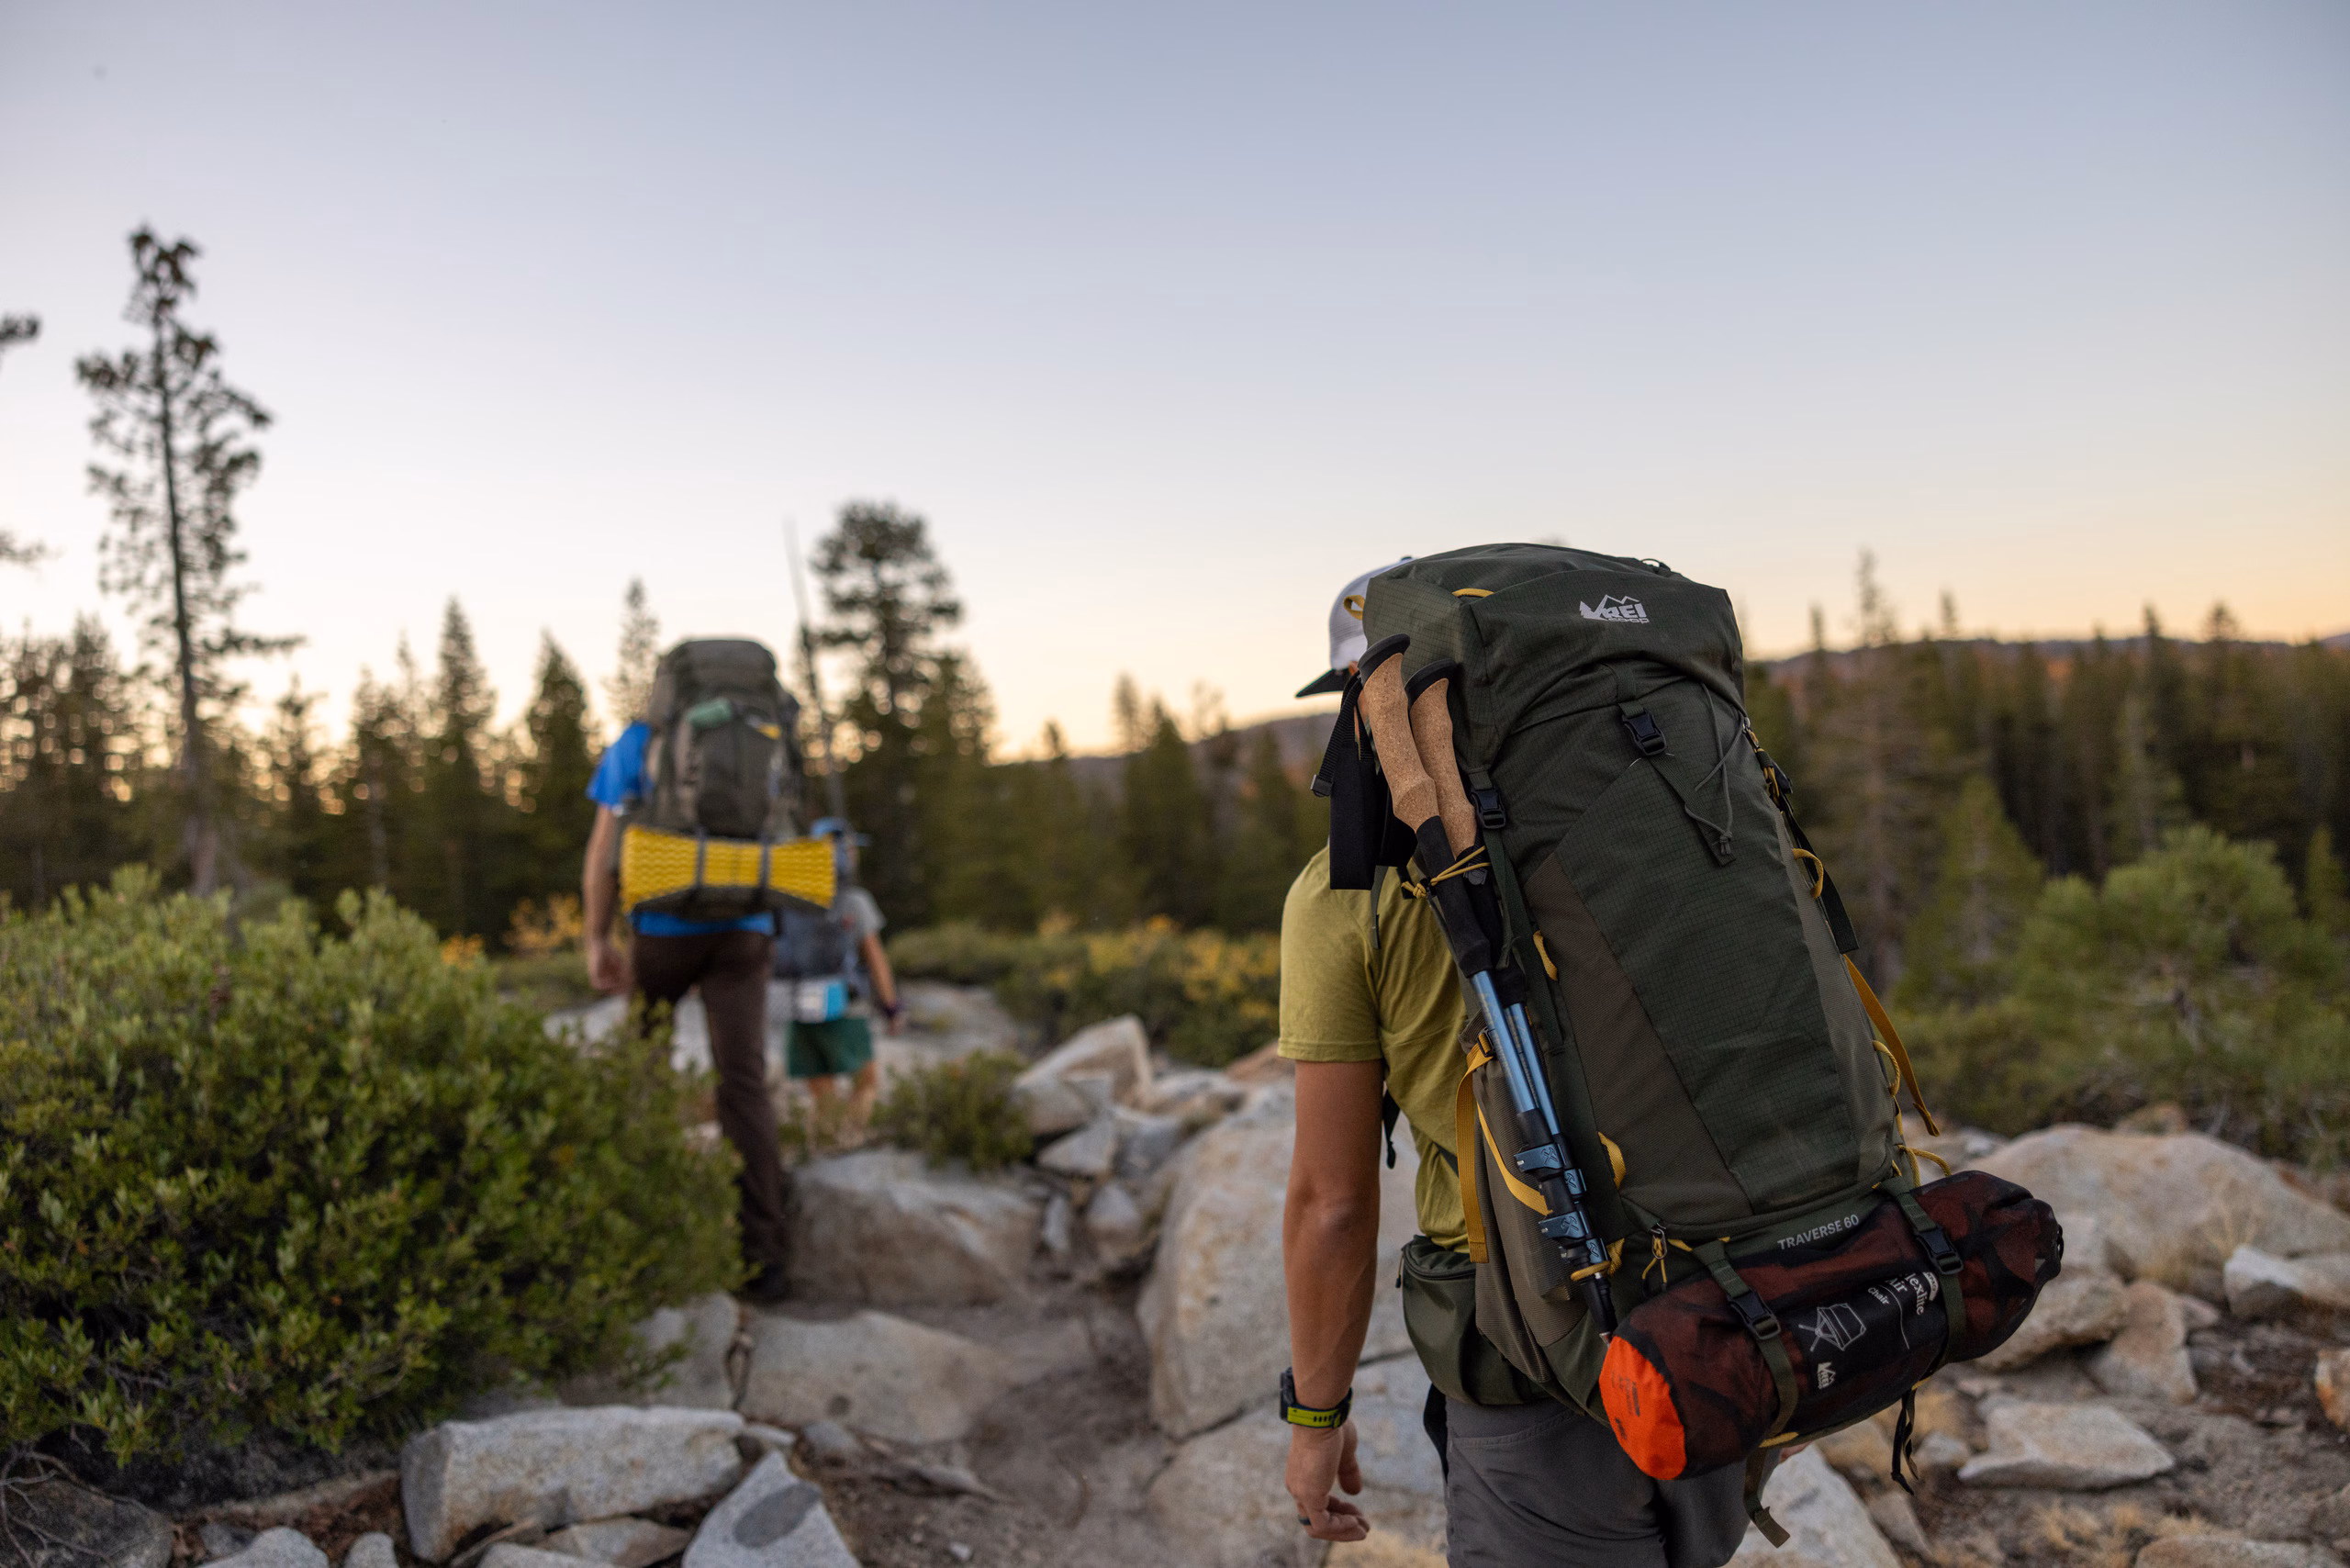

Find the Best Gear
Browse our expert-ranked gear categories.